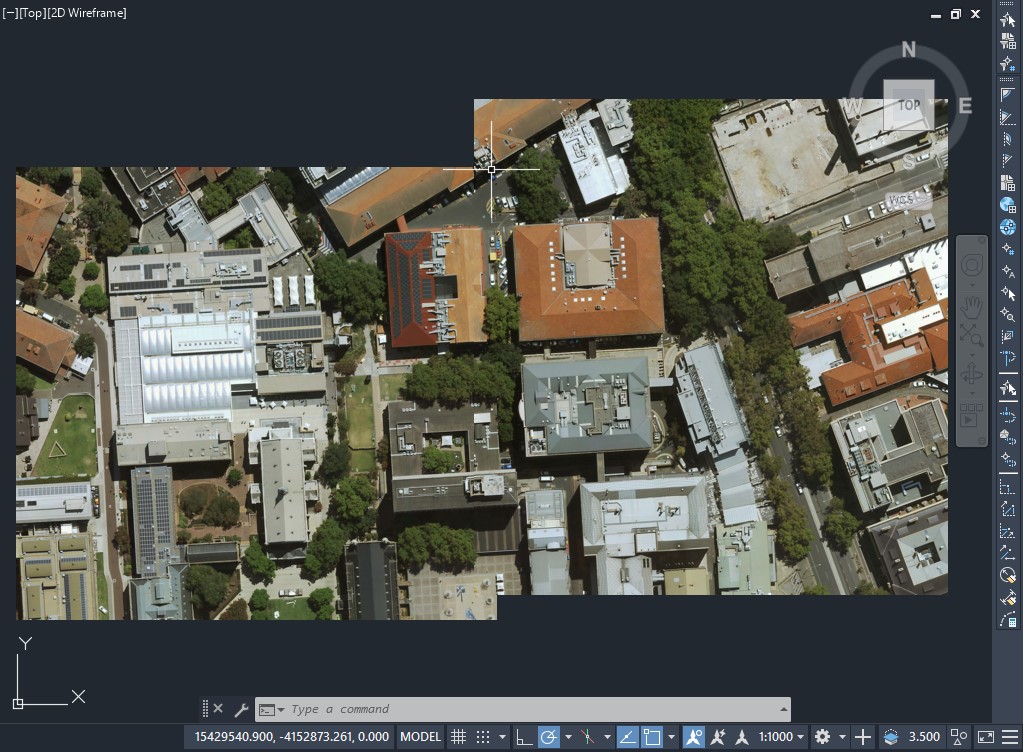
Loading Georeferenced Images
If you have used Clip It! tool or Download Image tool from MetroMap website and you want to project this image onto Autodesk® AutoCAD® Raster Design, the following steps will help you through.
Raster Design integrates with AutoCAD and these instructions are based on AutoCAD Civil 3D 2020.
Please note that our MetroMap system provide various projection systems.
For more introduction about Projection Systems, please refer to Clip It!.
These instructions apply to Autodesk® AutoCAD® Raster Design 2015 and above.
- AutoCAD has a 128 character file path limit. Keep folder paths and filenames short.
- Ensure your raster is a .JPG with a matching .JGW file in the same location.
- Use an MGA zone coordinate system for proper alignment and accurate measurements.
- Georeferencing support: Raster coordinates (e.g. from .JGW files) are correctly interpreted in Civil 3D. Standard AutoCAD does not natively read this georeferencing information without additional tools (e.g. Raster Design).
Setup Steps
Follow these steps to set up a MetroMap georeferenced layer in AutoCAD Civil 3D:
-
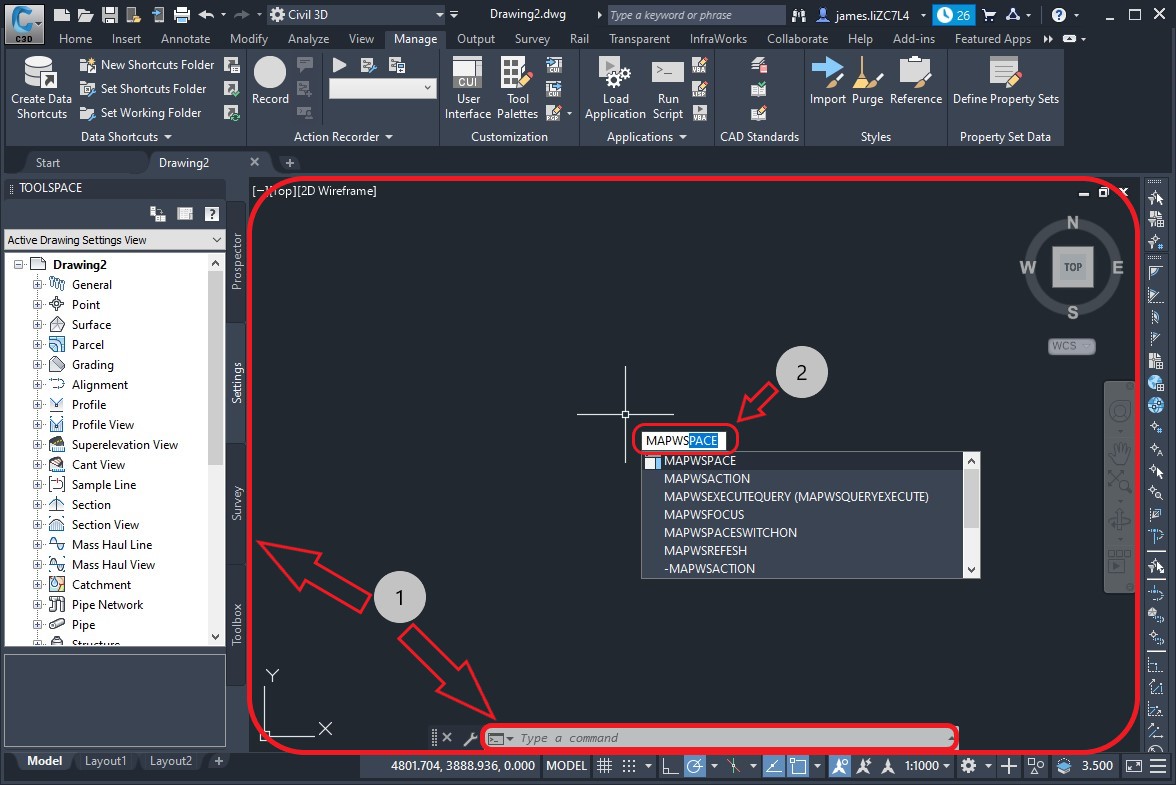
Move your cursor into the Drawing area or click the Command ribbon, type in
MAPWSPACE, then press Enter on the keyboard.
-
Select On on the follow up menu.

-
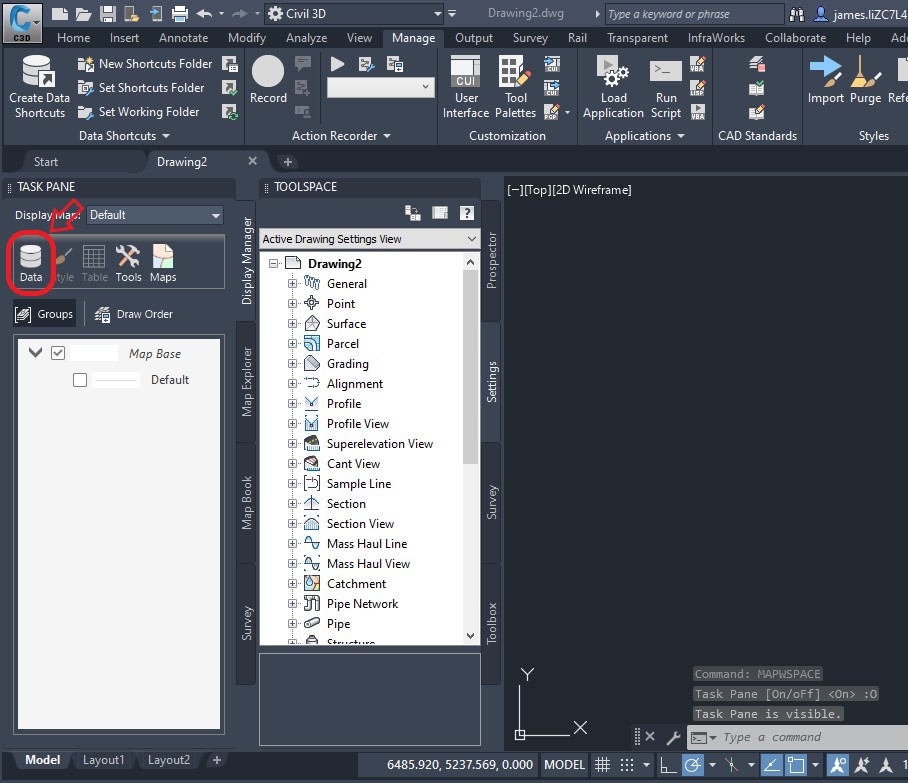
The Display Manager should show up afterwards, click Data button.
-
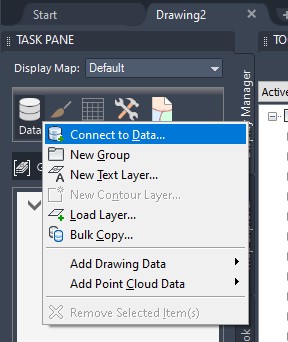
Click Connect to Data...
-
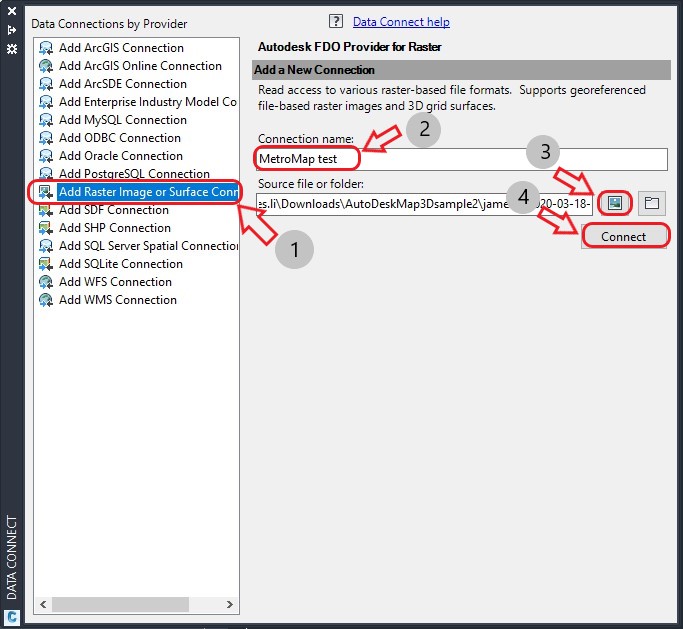
The DATA CONNECT window should show up,
- choose Add Raster Image or Surface Connection on the left side;
- Then enter any name as Connection name;
- Click Picture icon to browse and select your preferred image;
- Then click Connect;
- The path to the .jgw file, including its filename, is under 128 characters long.
- The .jpg and .jgw filenames are identical, except for their extensions.
Please note that MetroMap provides various projection systems via our Clip It tool.
For more information, see Clip It!.
-
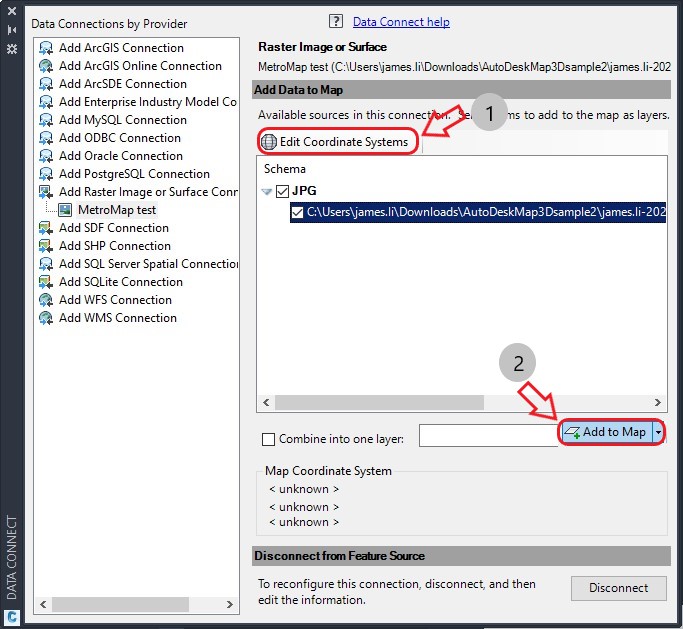
Click Edit Coordinate Systems.
-
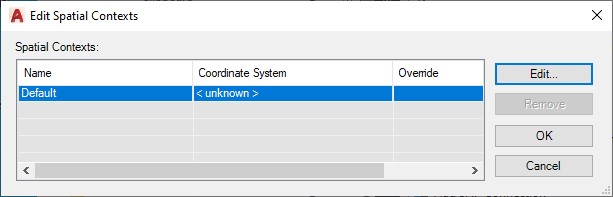
Click to highlight the spatial context, then click Edit.
-
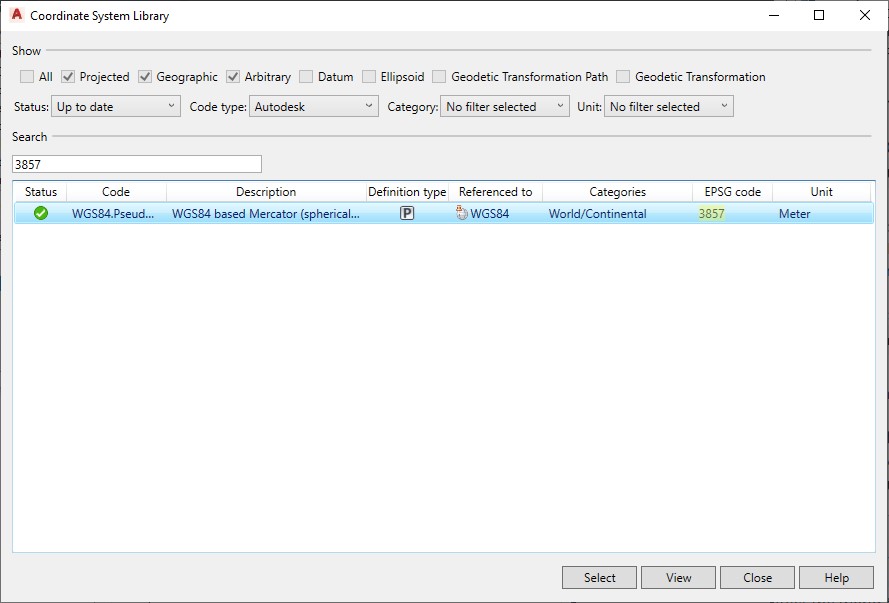
In the Search box, enter the EPSG code you prefered for the projection.
-
Click Select, then click OK.
-
Click Add to Map. Once your image displays, you can close/collaps the Data Connections window.
-
If you have extra images to import, please repeat Step 5 - 10. If your images are adjacent or overlapping, they will be joined together.