Setup Instructions:
Log in to ConfigManager:
Open your web browser and navigate to the ConfigManager interface (typically hosted within your organization's Intramaps instance).
Log in with the appropriate credentials (usually admin access).
Navigate to the 'WMTS Layers' Section:
In the ConfigManager, find the Basemaps section (or a similar map services/layers menu).
.png)
Right click on the “Basemaps“ and select the option to add a new Basemap/Layer
Add a New WMTS Layer:
You will need to provide the following details:
Name: A descriptive name for the layer.
Type: What type of layer are you adding. Select the WMTS option.
URL: The WMTS service URL (the endpoint from the provider). This is where the map tiles are served from. For example, a URL might look like
https://api.metromap.com.au/ogc/gda2020/key/APIKEY/wmts/1.0.0/WMTSCapabilities.xml(Remember to replace APIKEY with your actual API key).

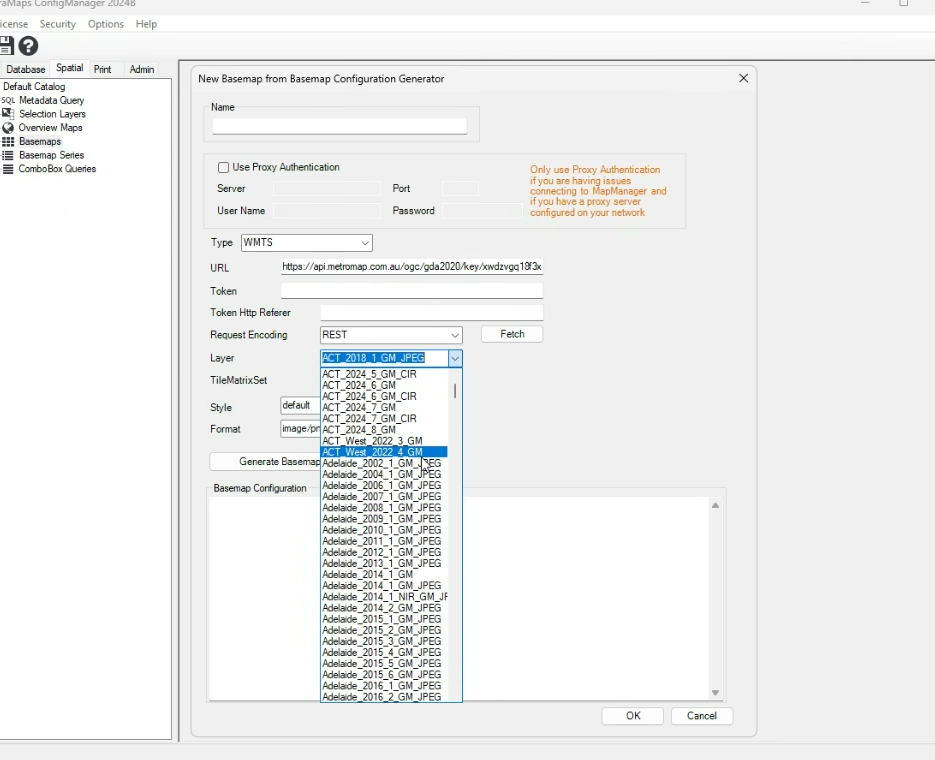
Click Fetch and then select the layer from the list. Important: Choose the layer by scrolling and clicking—typing it out may cause an error.
Generate the Basemap Test:
Once the layer is added, click Generate Basemap Test. This will show the configuration details for the WMTS layer.
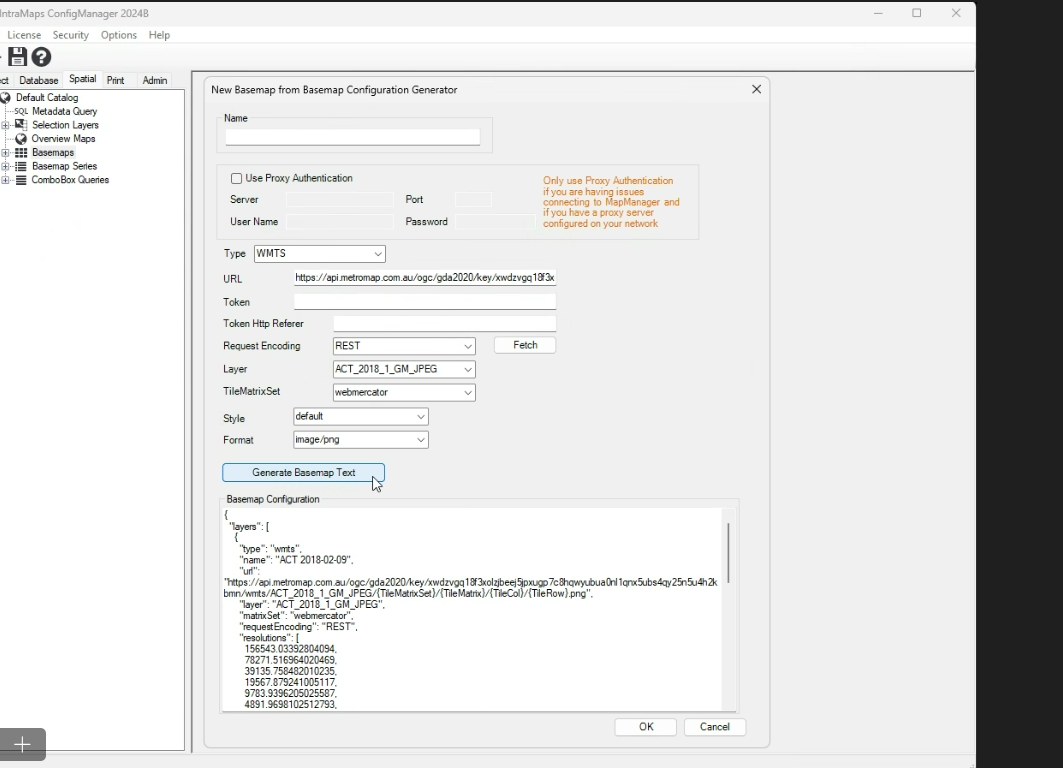
Review the configuration text and verify everything looks correct. If satisfied, click OK.
Test the WMTS Layer:
Ensure the layer is visible and functioning correctly by checking that it loads the map tiles as expected.