Setting up a WMS Service
All you will need is an API Key and this URL:
https://api.metromap.com.au/ogc/key/{YOUR_API_KEY}/service?REQUEST=GetCapabilities
You will need to have a MetroMap Enterprise, or Partner plan to access MetroMap APIs
Setup Steps
Follow these steps to set up QGIS 3.28 WMS integration:
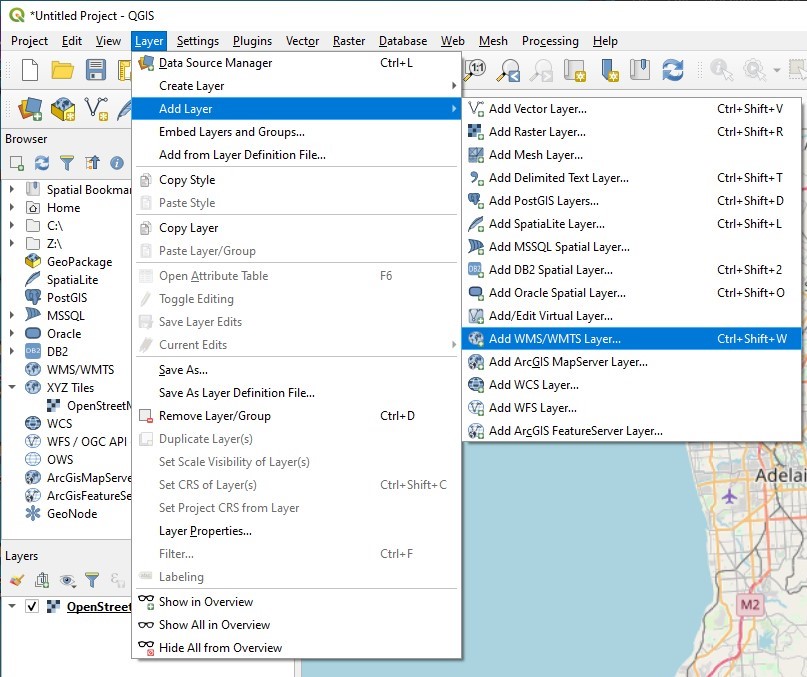
- Open QGIS. Click on the Layer menu, select Add Layer, and choose Add WMS/WMTS Layer...
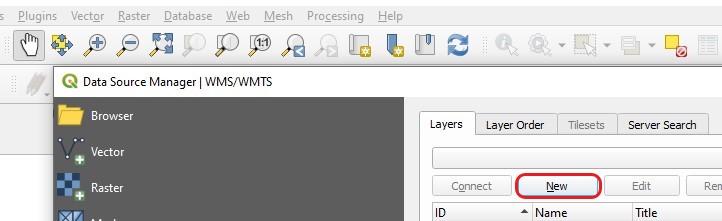
- In the WMS/WMTS window, click New.
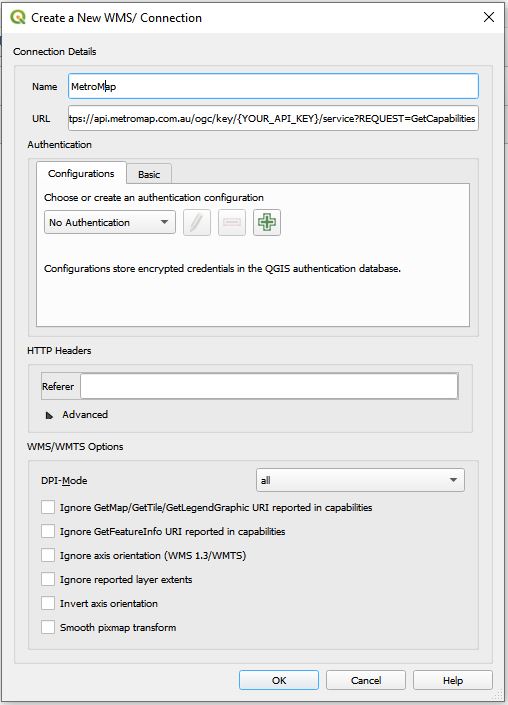
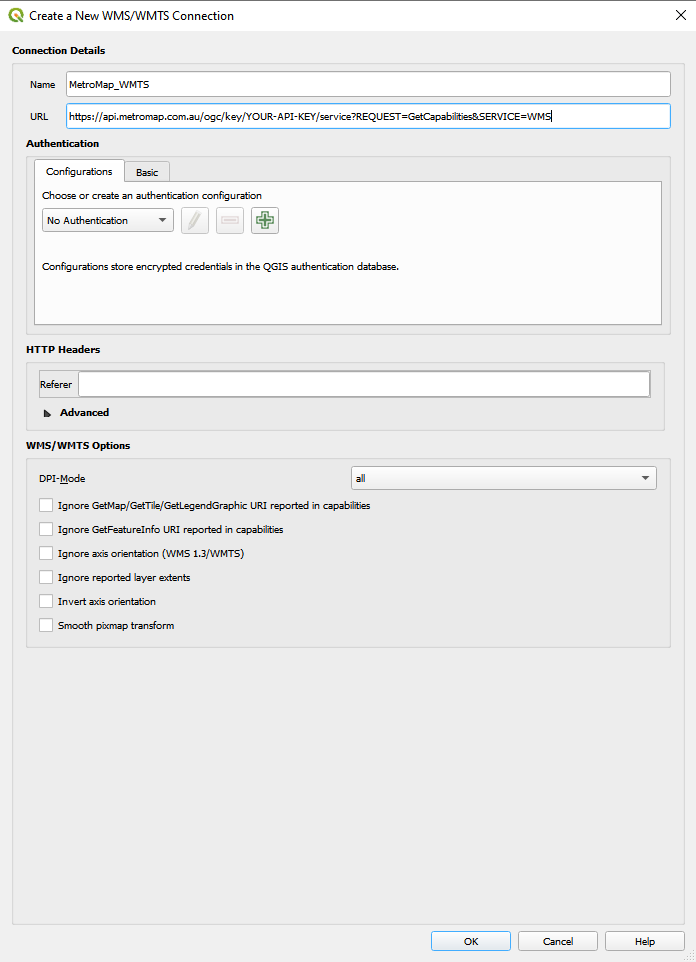
- In the Create a new WMS connection window:
- At Name, enter any name you want.
- At URL, enter the WMS URL including your API Key. For example:
https://api.metromap.com.au/ogc/key/afas679g2g4ghjiom0455no6b/service?REQUEST=GetCapabilities - Username and Password fields are not required.
- Then click OK
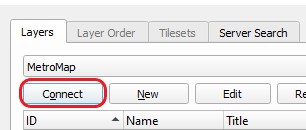
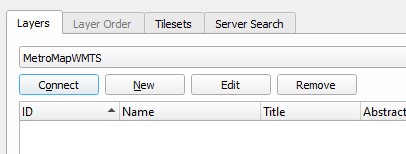
- Back to the WMS/WMTS window, click connect.
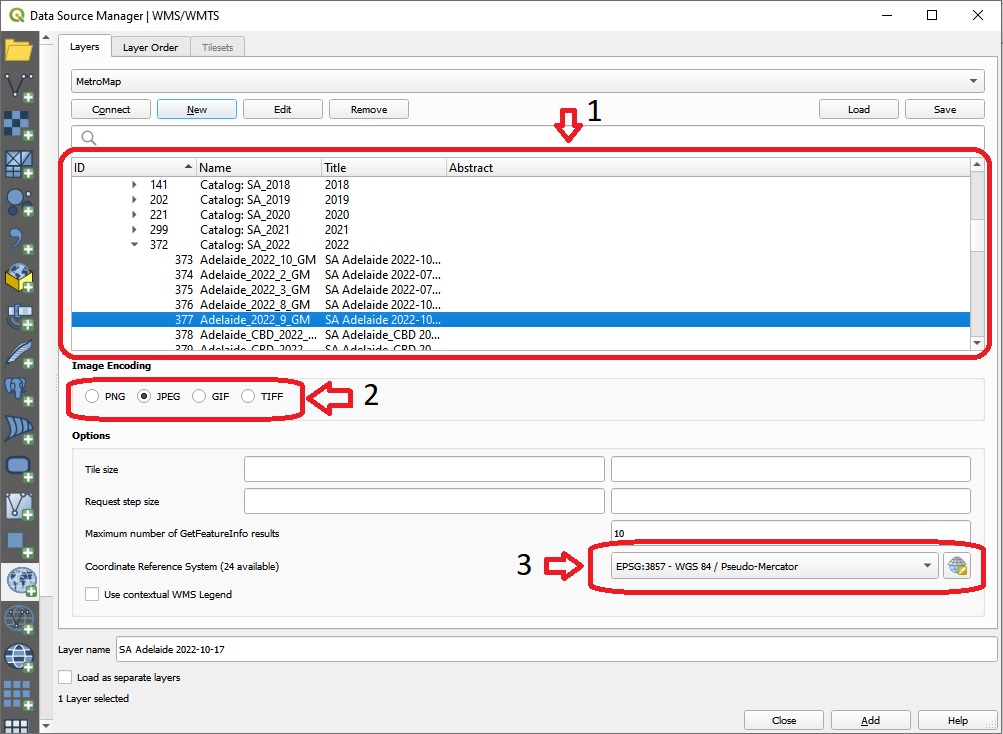
- Select a map layer by a single click.
- When you finish selecting a layer, click Change to set the coordinate reference system to use.
- For the Coordinate Reference System option, choose the map projection you want via the Select CRS menu (the globe icon button). Once you find your desired projection, select it and click OK.
Make sure to the Coordinate Reference Systems are the same between the Layer and QGIS software. WGS 84 / Pseudo-Mercator EPSG:3857 in this particular example.
- Back to the WMS/WMTS window, we recommend JPEG is selected for Image encoding. PNG format is also available and has higher image quality, but will affect the performance and will create a large amount of data downloaded. Click Add once then click Close.
You can search for Australia Latest to quickly add all the most recent imagery available to your map.
Note: This layer is a mosaic of the latest available captures, so imagery dates may vary by location.
- Right-click the layer, and click Zoom to Layer.
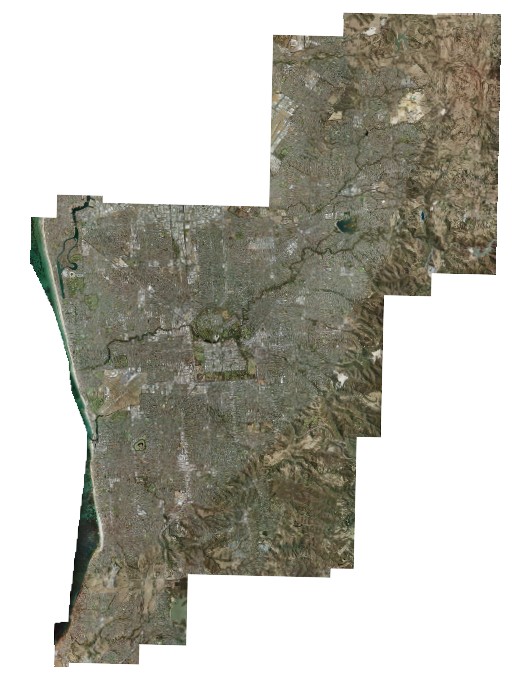
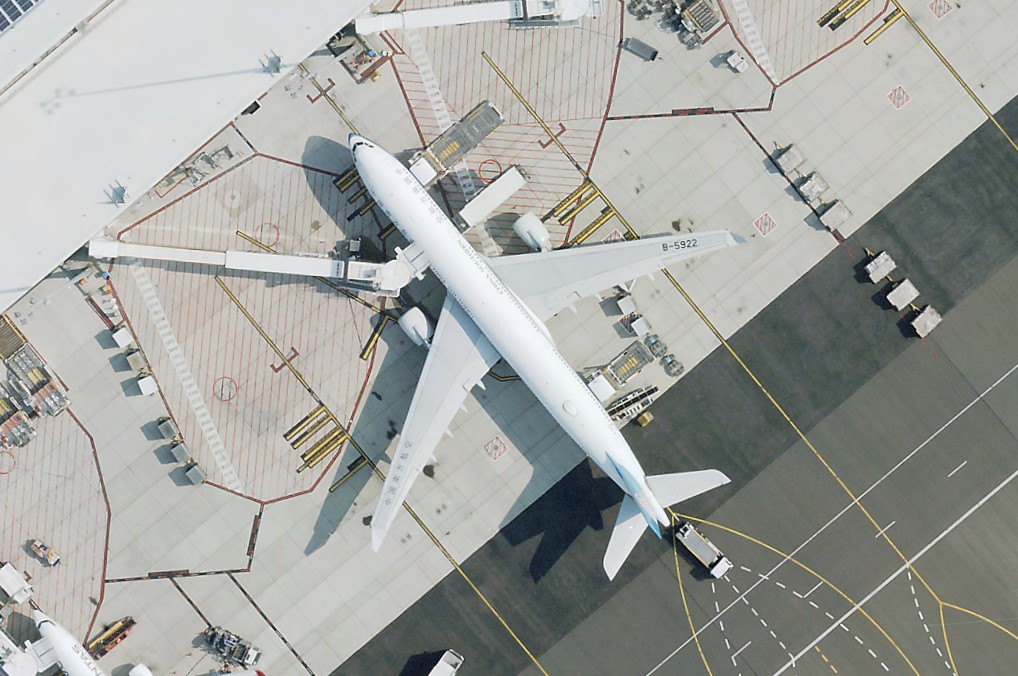
- Higher resolution imagery will be shown when you zoom in.
Setting up a WMTS Service
Similar to the WMS services, you will need an API Key, but a different URL:
https://api.metromap.com.au/ogc/key/YOUR-API-KEY/service?REQUEST=GetCapabilities&SERVICE=WMTS
Setup Steps
Follow these steps to set up QGIS 3.28 WMTS integration:
- Open QGIS. Click on the Layer menu, select Add Layer, and choose Add WMS/WMTS Layer...
- In the WMS/WMTS window, click New.
- In the Create a new WMS/WMTS connection window:
-
At Name, enter any name you want.
-
At URL, enter the WMTS URL provided below (with your API key included):
https://api.metromap.com.au/ogc/key/YOUR-API-Key/service?REQUEST=GetCapabilities&SERVICE=WMTS -
Then click OK
-
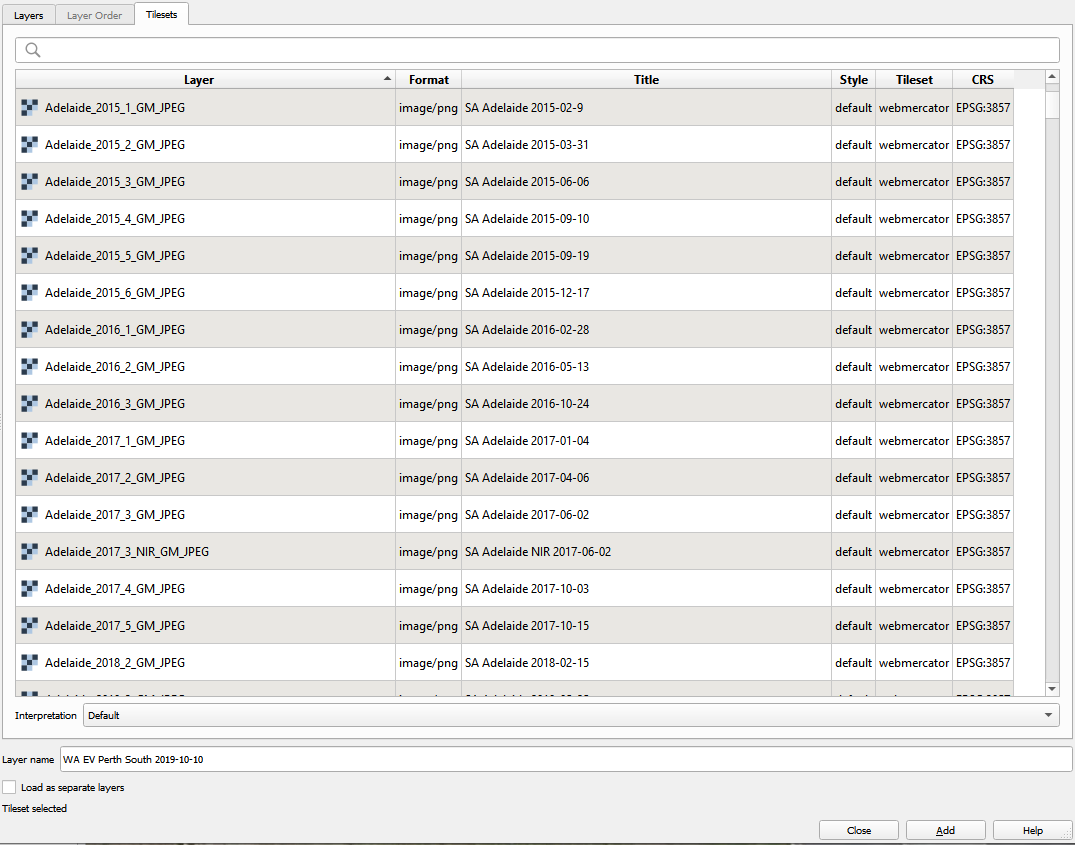
- Back to the WMS/WMTS window, click connect.
- You will be brought to Tilesets and letting you to choose the Layers, MetroMap provides a variety of layers, so choose the one you prefer. Then click Add once and click Close.
You can search for Australia Latest to quickly add all the most recent imagery available to your map.
Note: This layer is a mosaic of the latest available captures, so imagery dates may vary by location.
- Right-click the layer, and click Zoom to Layer.
- Higher resolution imagery is served on demand as you zoom and pan.
Adding StreetMap Layer
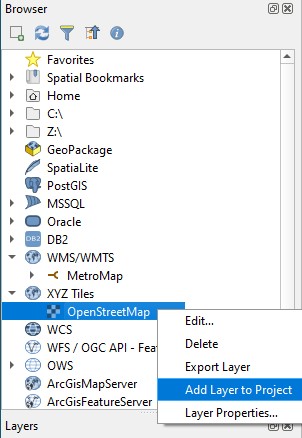
- Select the layer in the Browser window to load the imagery. If you would like to observe a street map under the imagery layer, expan XYZ Tiles list, right click OpenStreetMap and select Add Layer to Project.
Back to Top
- Make sure the MetroMap Imagery Layers is on the top of other layers so you can see the imagery.

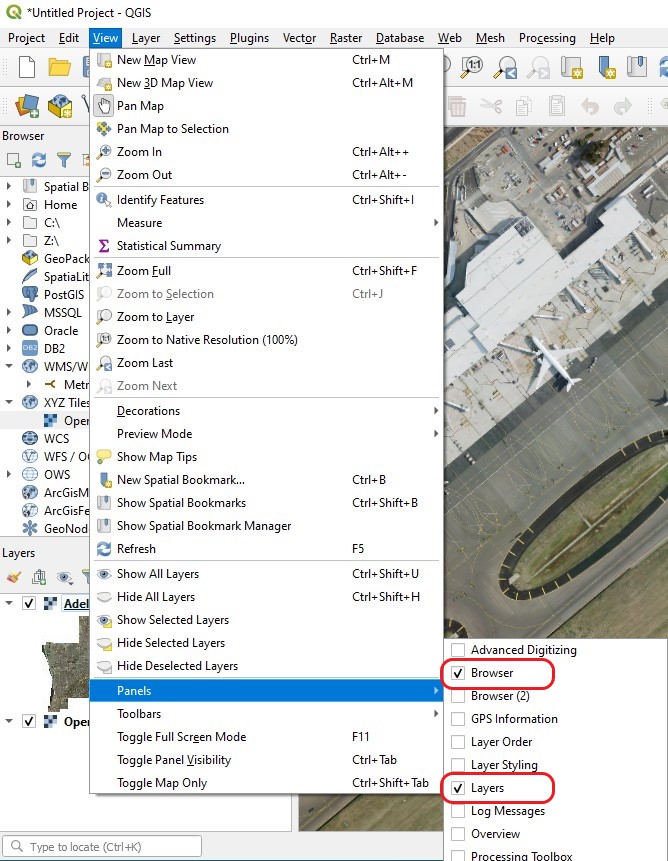
Display Browser & Layer view
If the Browser window and Layers window not showing on your QGIS layout, click on the View menu, select Panels, then choose Browser and Layers.
Importing Image files into QGIS
If you have used Clip It! tool or Download Image tool from MetroMap website and you want to project this image onto QGIS, the following steps will help you through.
Note: Please be sure to download the image with the georeferenced option selected. Images without georeferencing can be loaded but have a higher chance of being displayed incorrectly.
-
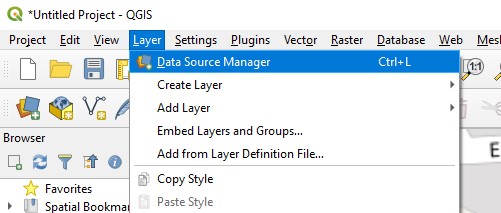
Click on the Layer menu, click Data Source Manager
-
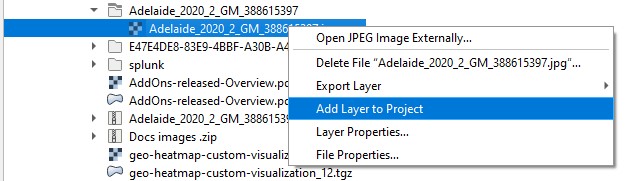
In the Data Source Manager window, choose Browser on the left side, and locate the file you download on the right side.

-
Right click the file you have found, and click Add Layer to Project, and make sure the image layer is on top of the street map layer.
-
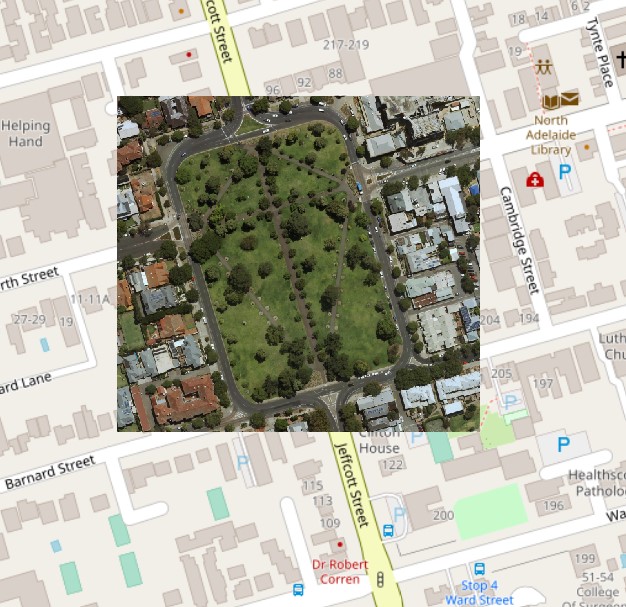
The image should have shown on the map now.
The Coordinate Reference Systems should be the same between the Layer and QGIS software. WGS 84 / Pseudo-Mercator EPSG:3857 in this particular example.
Please note that MetroMap can provide various projection systems.
For more information how to download with different projection systems, please refer to Clip It!.