Before you start
The Admin Panel is available to users with admin permissions as part of an Enterprise or Team subscription.
Opening the Admin Panel
The admin panel can be opened via the MapViewer, the button for this is between the 'Give Feedback' and 'MetroMap v1' buttons in the column of options on the lower left of the MapViewer interface.

Admin Panel Interface
The focus of the Admin Panel interface (below) is the table-formatted user list. As well as containing all user account information, it is able to be searched within and filtered via the search bar or sorted by any of the attribute columns.

Below are the functions for the multiple buttons and features available in the Admin Panel:
User Management: Returns you to the main Admin Panel page (shown above).
MetroMap: Takes you out of the Admin Panel and opens the MapViewer.
Logout: Logs you out of MetroMap.
Search Bar: Can be used to search for individual or collections of users within the group.
Export Users: Exports a csv file containing the contents of the user list table.
Add User: Opens the user creation page for adding a new user to the group.
Action: Opens a drop-down menu with the following options for its user account: Edit User, Reset Password, API Key Management, and Delete*
*Note: Deleted users retain their usernames. It is best practice to edit a user's Username and Email attribute before deleting. This will remove the chance of inteference when attempting to create another user with those details.
Adding Users
The Add User menu is where details can be entered to create new user accounts for the Team or Enterprise subscription. The menu is available in the top-right corner of the Admin Panel interface.

After opening 'Add User', simply enter the information required for creating the new account (Email, Username, First Name, Last Name and Phone Number if applicable). There is also the choice whether to input a data limit, have the user account enabled or disabled, or granting admin privileges to the new account.
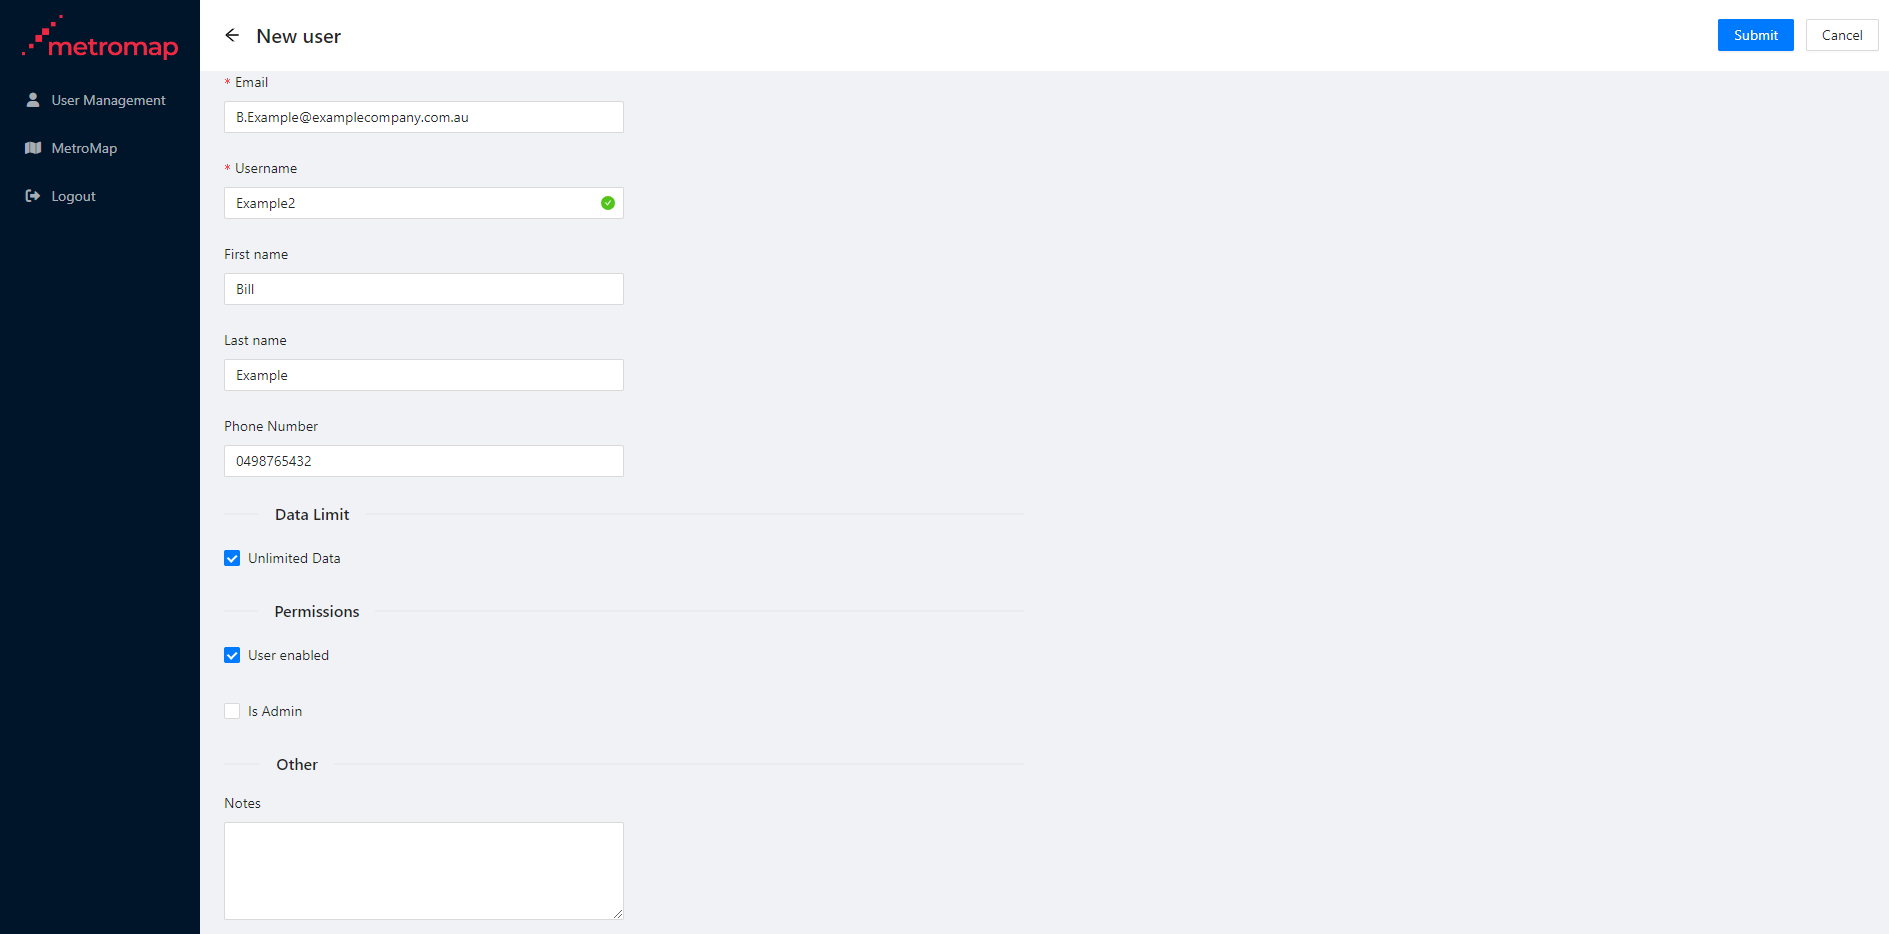
Once all information is entered, select ’Submit’ to create the user account. An email for creating a password and completing the account creation will be sent to the email address that has been submitted.
Additional Options (Actions)
For users in a group, group admins will find a list of options in the ‘Actions’ column of the Admin Panel table. The options available are: Edit User, Reset Password, API Key Management and Delete.


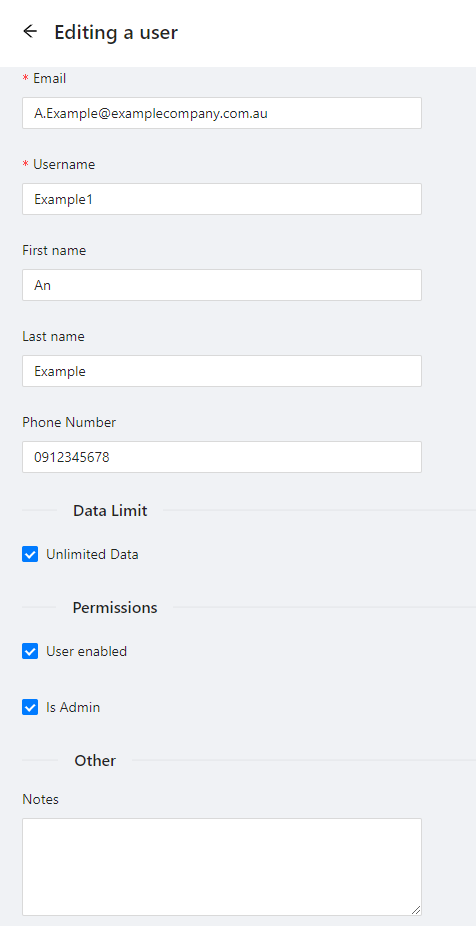
Edit User
As well as creating users for their group, admin users are also able to edit the users in their group, changing account information. The interface for this is similar to the ‘Add User’ page as it has the same editable criteria. Admins are able to change the details of user accounts (Name, Username, Email etc.), create a data limit for users (data consumption does not reset so will require monitoring and periodic data limit changes), or change permissions (enable/disable an account or grant/remove admin permissions).
Reset Password
If a user in a group requires a new password, an admin is able to use this option to have a password reset sent to the user’s email.
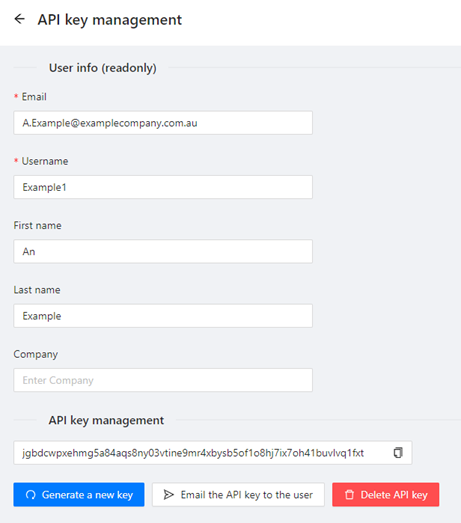
API Key Management
For Enterprise subscriptions, admin users are able to create and provide API keys for their users via the API Key Management menu. The API Key Management menu gives you the ability to create/recreate an API key, send the API key to the email of the user, and also the ability to delete the API key.
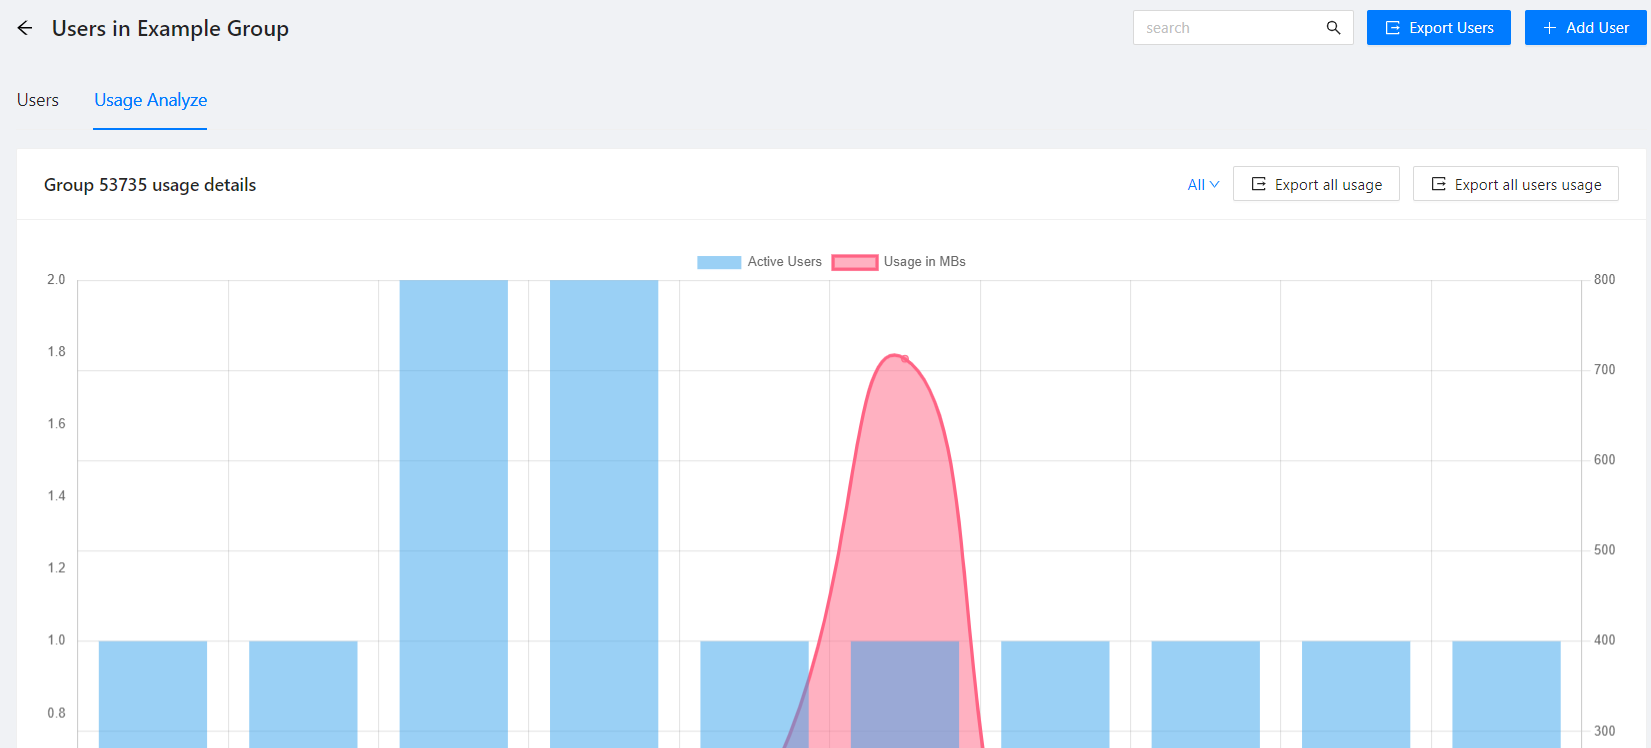
Data Usage Monitoring
For detailed information on a group's data usage, group admins can use the 'Usage Analyze' tab. Data usage information is available in both graph and CSV formats. This information including data consumption, number of requests, and the number of active users, all of this broken down month-by-month. The CSV spreadsheet/table format can be downloaded using the 'Export All Usage' button which is located above the top-right of the graph.
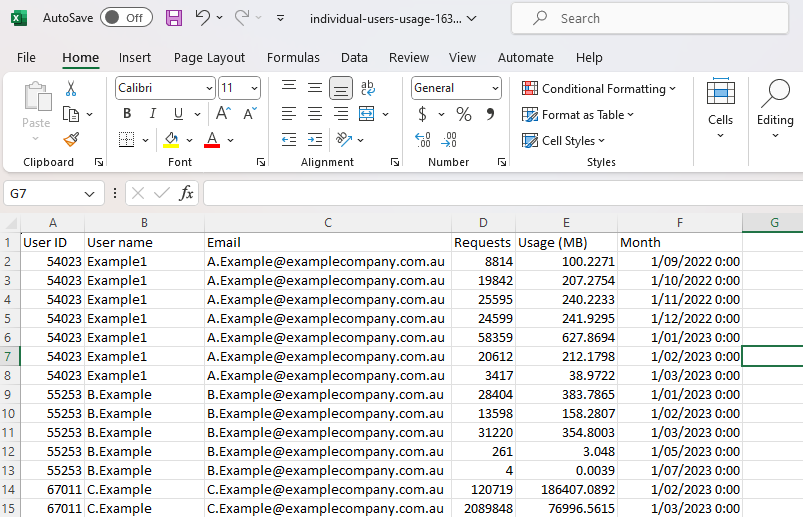
While the 'Export All Usage' button is for data usage of the group in total (all users collectively), reports can also be created which separates the users. These are available via selecting the 'Export All Users Usage' button.
Available in this CSV export is the historical data usage of all users within the group, broken down into per user and per calendar month. To assist with identifying users, other attributes provided are User ID, Username, and Email Address.